Emergencies
Leaking Pipe Under the Floorboards: Detection to Repair
How to detect a pipe leak under floorboards without ripping up your floor, then repair it, dry it out and navigate an insurance claim.
Published 7 July 2026
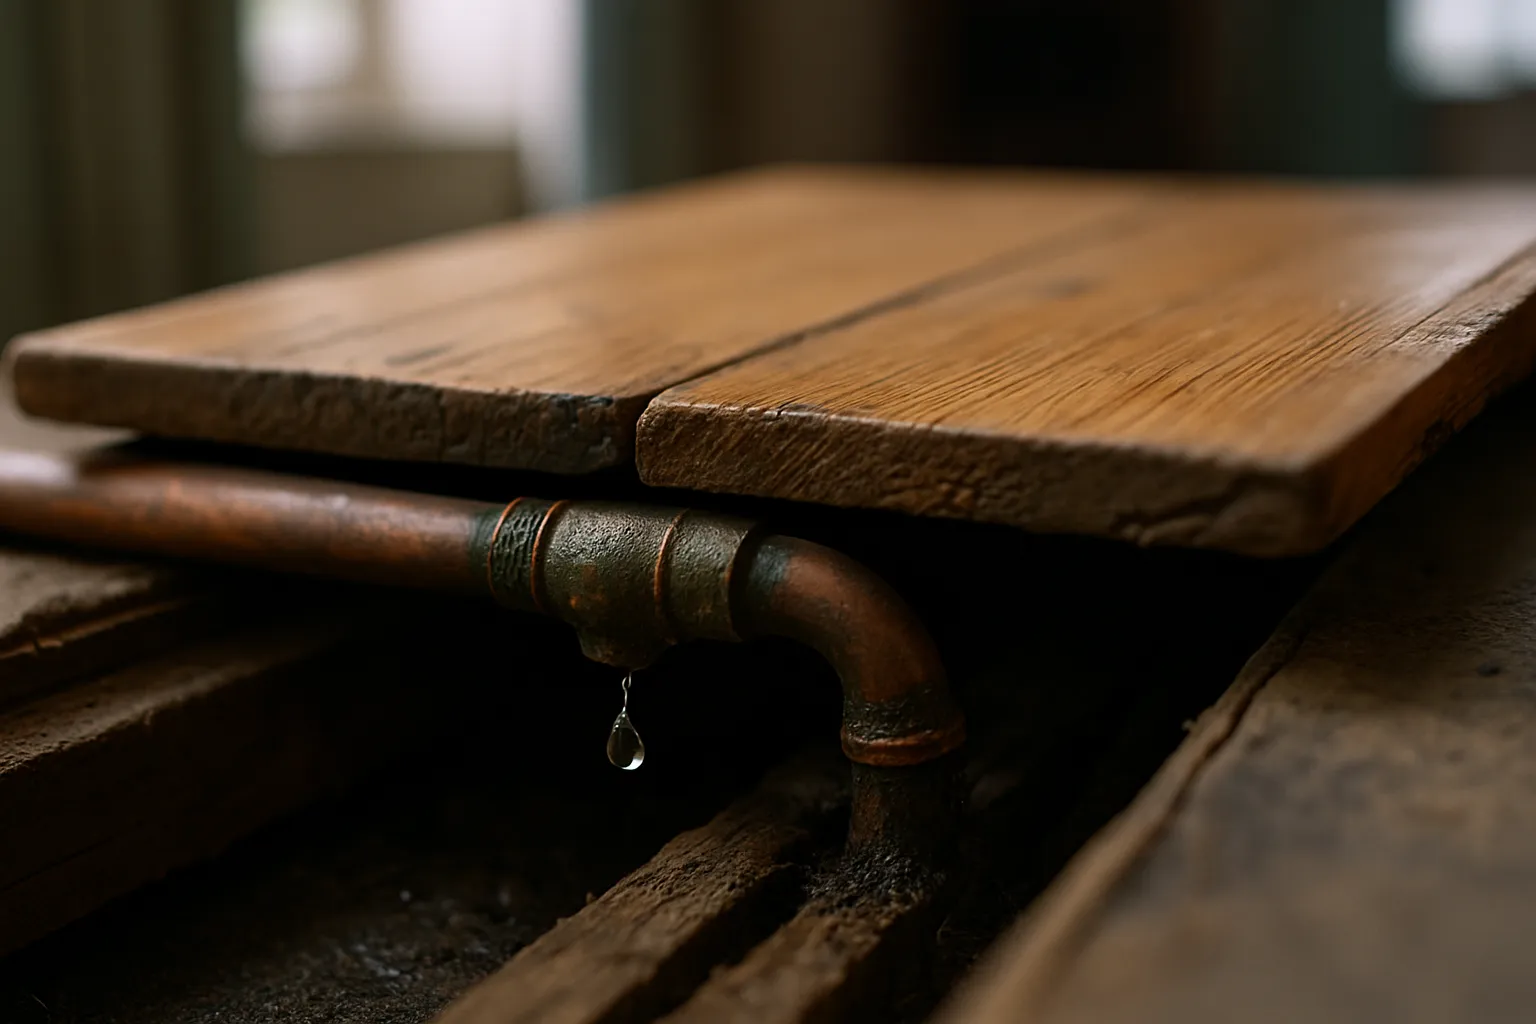
A leak beneath your floorboards is one of the more unsettling plumbing problems a homeowner can face. The water is invisible, the damage is silent, and by the time you notice something is wrong — a damp smell, a warm patch underfoot, a creaking board that was never there before — the leak may have been running for days. This guide walks you through tracing the source, limiting the damage, and getting the repair done properly.
Warning Signs You Have a Leak Under the Floor
Because the water is hidden, you are usually reading indirect clues. Look out for:
- Unexplained rise in your water bill — even a small drip under a floor can waste hundreds of litres a week
- Warm or cold spots on the floor — a hot-water pipe leak will create a noticeable warm patch; a cold-water leak does the opposite
- Damp or musty smell — timber and insulation soak up moisture quickly and begin to smell within days
- Warped or lifting floorboards — timber swells as it absorbs water
- Discolouration on ceilings below — if the leak is on an upper floor, the ceiling beneath is often the first visible sign
- Mould appearing at skirting-board level — moisture migrates outward and upward through the subfloor
How to Trace the Leak Without Ripping Up the Floor
Lifting boards should be a last resort, not a first instinct. Try these steps first.
1. Check Your Water Meter
Turn off every tap and appliance in the house. Note the meter reading, wait 30 minutes without using any water, then check again. If the dial has moved, you have a leak somewhere on your supply side. This confirms a leak exists without telling you where.
2. Isolate Sections of Pipework
If you know your layout — hot water, cold water, central heating — try turning off one circuit at a time and repeating the meter test. This narrows the leak to a specific system.
3. Use a Moisture Meter
A basic moisture meter (available from most DIY shops) can be pressed against floorboards to identify which areas have elevated moisture. Work methodically from the area where you first noticed symptoms outward. The wettest reading is usually closest to the source.
4. Listen Carefully
In a quiet house, a pressurised pipe leak sometimes produces a faint hissing or trickling sound. Get down low and listen along the floor. This works best on solid ground floors.
5. Thermal Imaging
If the above steps do not pinpoint the source, a plumber with a thermal imaging camera can map temperature differences through the floor covering without lifting a single board. This is particularly useful for underfloor heating circuits and hot-water pipes.
When You Do Need to Lift Boards
Once the leak is localised to roughly a metre or two, lifting one or two boards is far preferable to a speculative rip-up. A skilled plumber will identify the nearest board joint, lift cleanly, and have clear access to the pipework beneath. Modern push-fit and compression fittings mean the repair itself is often straightforward once you have access.
Common Causes Found Under Floorboards
- Corroded copper pipe — particularly in properties built before the 1980s
- Loose or failed compression joint — vibration and age cause fittings to weep
- Nail or screw driven through a pipe during a previous renovation
- Burst pipe following a freeze — the freeze-thaw cycle splits copper and plastic alike
Drying Out After a Leak
Stopping the water is only half the job. Wet timber, insulation and concrete need to dry thoroughly to prevent mould, rot and structural damage.
- Open windows and use fans to increase airflow
- A dehumidifier placed in the affected room will pull moisture from the air significantly faster than ventilation alone
- Avoid replacing floorboards or floor coverings until a moisture meter confirms the subfloor has returned to a safe reading — typically below 20% for timber
- In serious cases, a specialist drying company will use professional-grade equipment and provide a drying certificate, which insurers often require
Navigating an Insurance Claim
Most home insurance policies cover trace and access — the cost of finding and reaching the leak — as well as the resulting damage. They do not usually cover the cost of repairing the pipe itself.
Keep the following to support your claim:
- Photographs before, during and after the repair
- A written report or invoice from the plumber describing the cause and location
- Receipts for any emergency work or temporary accommodation
- Drying company reports if applicable
Notify your insurer as soon as you discover the leak. Delay can complicate claims.
Should You Turn the Water Off?
If you have confirmed or strongly suspect an active leak under the floor, turn off your stopcock immediately. This is the single most effective thing you can do to limit damage while you arrange a repair. Your stopcock is usually under the kitchen sink or near the front door.
A leak under the floorboards rarely gets better on its own — the longer it runs, the more expensive the drying and reinstatement work becomes. If you are in the TW postcode area and need help tracing or repairing a hidden leak, call Emergency Plumbers TW any time on 07360 268948. We are available 24 hours a day and can bring thermal imaging equipment to your property to locate the source without unnecessary disruption to your floors.