How-to
After the Plumber Leaves: Restoring Your Home Post-Leak
What to do after a leak is fixed: how to dry out, repair plaster and decor, and make an insurance claim. Practical recovery steps for TW homeowners.
Published 8 July 2026
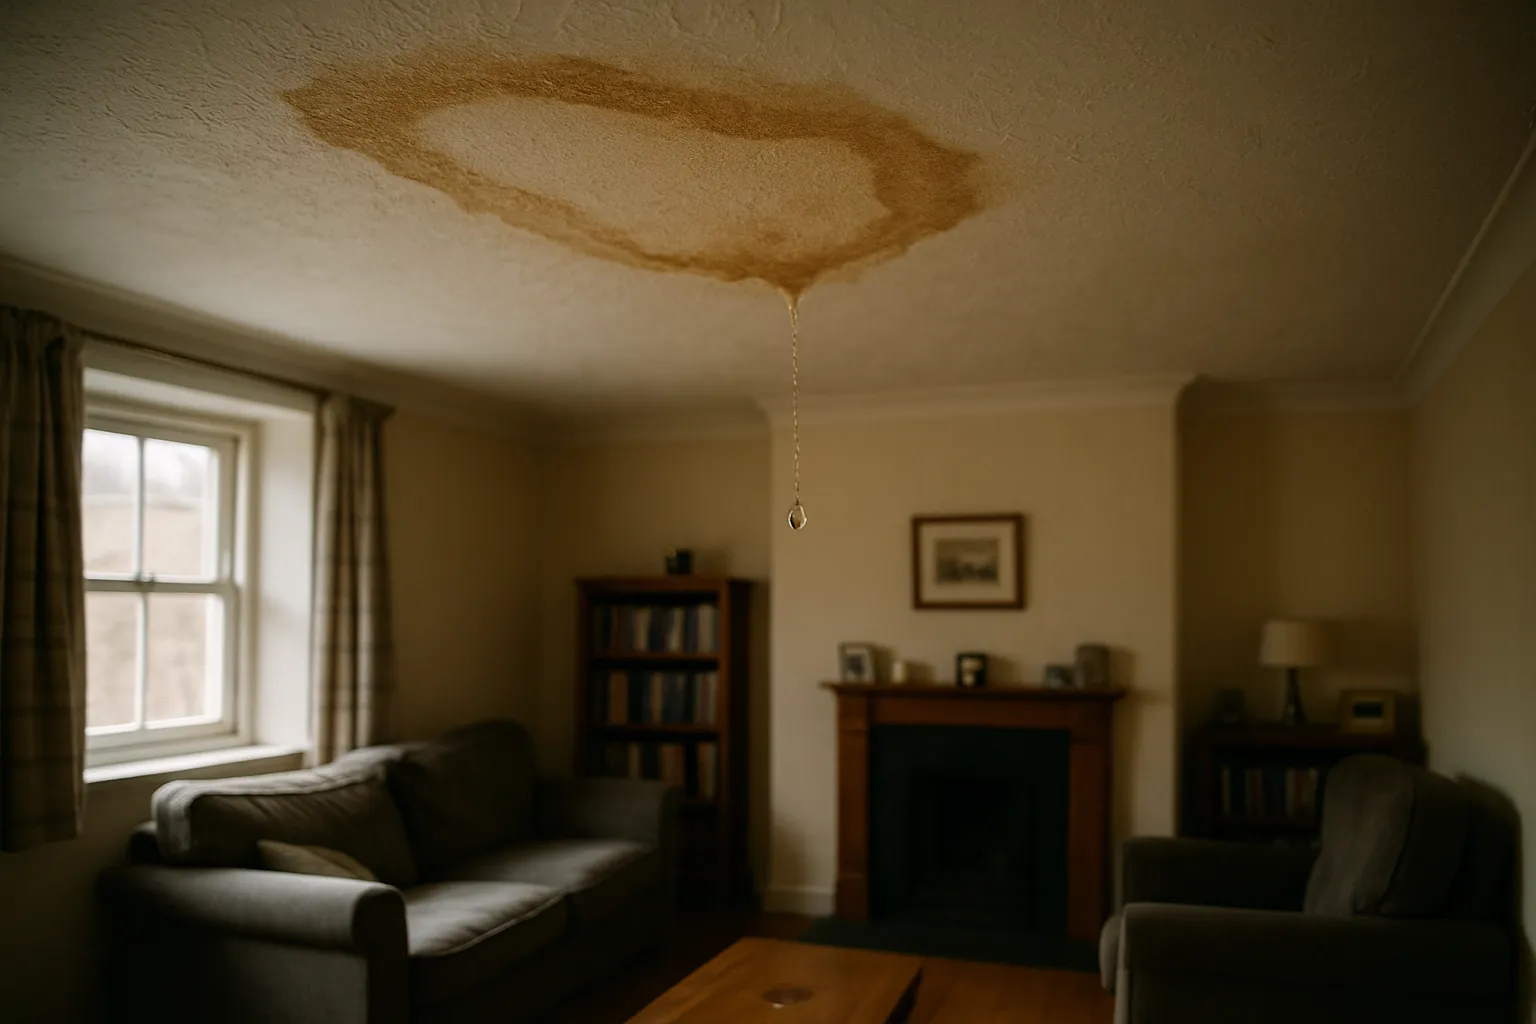
The plumber has stopped the leak, the water is off, and you can breathe again. But the work is far from over. Water damage restoration is a slow, methodical process — rush it and you will end up with mould behind plasterboard, bubbling paint, and a failed insurance claim. Here is how to approach the recovery phase calmly and methodically.
Step 1: Document Everything Before You Touch It
Before you move a single piece of furniture or mop up a drop of water, take photographs and video of every affected room. Capture:
- Watermarks on ceilings and walls
- Damaged flooring, skirting boards, and furniture
- Any personal belongings that have been ruined
- The source of the leak (your plumber can confirm this in writing)
This evidence is the foundation of any insurance claim. Do not skip it.
Step 2: Remove Standing Water and Wet Materials
Once you have documented the damage, remove standing water as quickly as possible. A wet-and-dry vacuum is ideal; towels and mops will do the job for smaller amounts.
Saturated materials — sodden carpets, soaked rugs, waterlogged underlay — need to come out promptly. Left in place, they trap moisture and become a breeding ground for mould within 24 to 48 hours. Bag them, photograph them (for your claim), and store them outside or in a dry space.
Step 3: Dry the Structure Thoroughly — and Patiently
This is the step most homeowners underestimate. Plaster, timber joists, and floorboards absorb far more water than they appear to, and they release it slowly.
Practical drying measures
- Open windows and doors whenever the outside air is drier than inside — typically on dry, breezy days.
- Use dehumidifiers rather than just fans. A dehumidifier extracts moisture from the air; a fan alone simply moves it around.
- Hire professional drying equipment if the affected area is large. Many property restoration companies in the TW area will place industrial dehumidifiers and air movers for a daily hire fee.
- Allow at least two to four weeks before assessing plaster for repair. In winter, or in poorly ventilated spaces, it can take longer.
Use a cheap moisture meter (available from most DIY shops) to test the wall and floor regularly. Plaster should read below 20% moisture content before you redecorate.
Step 4: Assess the Plaster and Ceiling
Once dry, inspect the plaster carefully.
- Hairline cracks from movement are common and easy to fill.
- Blown plaster — areas that sound hollow when tapped — must be hacked off and replaced. Painting over blown plaster is a waste of time and money.
- Lath-and-plaster ceilings (common in older TW properties) are more fragile. A significant soak may mean the whole section needs replacing with modern plasterboard.
For anything beyond minor filling, bring in a plasterer once moisture readings are consistently low. A good skim coat will leave a far better finish than repeated filler applications.
Step 5: Check for Mould
Even with prompt drying, mould can establish itself in hidden spots — behind plasterboard, under floorboards, inside stud walls. Signs include:
- A persistent musty smell
- Dark spotting on walls or ceilings
- Discolouration along skirting boards
Small surface patches of mould can be treated with a specialist mould-killer spray followed by a mould-resistant primer. Larger infestations — or mould inside the structure — need a professional remediation company. Do not simply paint over it.
Step 6: Redecorate in the Right Order
Once the structure is dry and repaired, redecorate methodically:
- Apply a stain-blocking primer to any watermarks (standard emulsion will not cover them).
- Use a mould-resistant paint in bathrooms, kitchens, and any room that suffered prolonged damp.
- Replace skirting boards and architraves last — they are the finishing touch, not the foundation.
Step 7: Make Your Insurance Claim
Contact your home insurer as soon as possible — most policies require prompt notification. Provide:
- Your photographs and video from Step 1
- A written report or invoice from the plumber confirming the source of the leak
- Receipts or estimates for damaged belongings and repair work
- Moisture meter readings or drying logs if you have them
Keep copies of everything. If your insurer appoints a loss adjuster, they will want to inspect the property before major works begin, so confirm this before you start replastering.
A Note on Timing
The temptation to redecorate immediately — to get the house looking normal again — is completely understandable. Resist it. Decorating over damp plaster traps moisture, causes paint to peel within months, and can void any guarantee a decorator gives you. Two to four weeks of patient drying will save you considerably more time and money in the long run.
If you are still dealing with an active leak, or if you are unsure whether the original problem has been fully resolved, call us any time on 07360 268948. We are available 24 hours a day across the TW postcode area and can advise you on next steps — even if we did not attend the original callout.